 zestful Grace
 How to Cut Skirting Board for the Perfect Fit
Skirting boards are more than just decorative additions to your interiors—they protect walls from damage, add character, and create a polished finish. However, cutting skirting boards to achieve the perfect fit can be challenging, especially if you’re working with uneven walls or intricate corners. But fear not! By following a few straightforward steps and how to cut skirting board, you can achieve professional-quality results that elevate your space.
Why Precision Matters in Skirting Board Installation
Cutting skirting boards accurately is crucial for several reasons:
Seamless Finish: Poorly cut boards can leave gaps and awkward visuals that detract from the overall design of your interiors.
Enhanced Durability: A snug fit ensures the boards stay in place over time, even in high-traffic areas.
Improved Installation: Properly cut boards make alignment and securing easier, ensuring the project runs smoothly.
Feeling confident? Let’s walk through the process step-by-step.
Tools You’ll Need to Cut Skirting Boards
Before starting, gather these essential tools:
Tape Measure for accurate measurements
Pencil and Ruler for marking guide lines
Mitre Saw or Mitre Box and Hand Saw for precise corner cuts
Jigsaw to manage intricate shapes or profiles
Workbench and Clamps for stability while cutting
With these tools in hand, you’re ready to create perfectly fitted boards.
Steps to Cut Skirting Boards for a Perfect Fit
1. Measure and Mark Accurately
Always start with measurements. Use your tape measure to determine the length of the wall section where the skirting board will go. Remember the saying, “Measure twice, cut once.” Mark your measurements clearly on the board with a pencil, ensuring your cuts will be exact.
2. Decide on Your Cuts
There are generally three types of cuts to consider when working with skirting boards:
Straight Cut: Ideal for ends or when boards meet a doorframe.
Internal Mitre Cut (for internal corners): Perfectly fits skirting boards together in corners of a room.
External Mitre Cut (for external corners): Used when boards wrap around an outside corner.
Understanding the type of cut you need will improve alignment and eliminate potential gaps.
3. Use a Mitre Saw or Mitre Box for Corners
For corners, an accurate mitre cut is essential. A mitre saw (or mitre box and hand saw) lets you cut the skirting board at the perfect angle, usually 45 degrees. This ensures your boards meet seamlessly at joints, resulting in a flawless finish.
4. Address Uneven Walls
Walls are rarely perfectly even, and gaps between your skirting boards and the wall are common. For uneven walls, use a scribing technique. This involves marking the uneven contour of the wall onto the board and using a jigsaw to cut along the line. This ensures the skirting board sits flush against the wall.
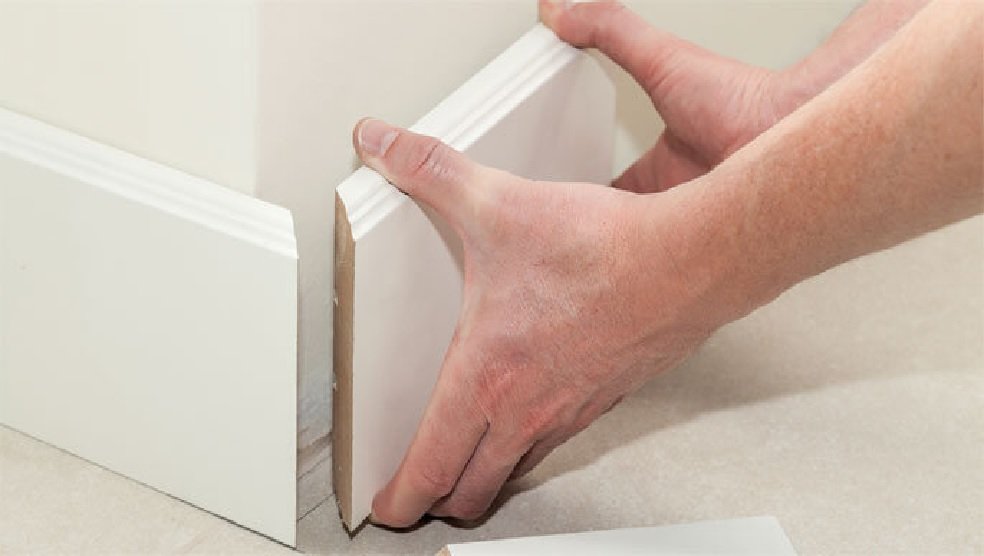
5. Test Fit Before Installing
Before securing any boards to the wall, hold them in place to ensure the fit is perfect. If adjustments are needed, make them now rather than after installation. A snug test fit will save time and effort down the road.
6. Secure the Skirting Boards
Once your skirting boards are perfectly cut, secure them to the wall using adhesive or screws (or a combination of both). Ensure they’re level before permanently fixing them in place.
Read more: https://prynzomedia.com/